Hana Table Patient Positioning and Setup: Pearls and Pitfalls
This video demonstrates patient positioning and setup of the Hana table and highlights pearls and pitfalls in using the table. Indications for the Hana table include but are not limited to the anterior approach for hip arthroplasty, intramedullary femoral nailing, hip pinning, and femur plating.
After the Hana table is acquired, place the end of a patient transfer board into the jack mount assembly; ensure it is properly in place. Lock the wheels ensure the table is secure. Plug the table in so the height can be adjusted preoperatively or intraoperatively. When attaching the leg spars, place the end of the leg spar into its respective spar mount, which is located under the table. Listen for a click to ensure the leg spars are placed past the safety latch. Ensure the perineal post is removed. The arm boards are positioned by taking the arm board adapter and sliding it to the desired position on the Hana table. Then, place the arm board into the adapter, and securely fasten it as demonstrated. The plantar aspect of the traction boots has an attachment that will slide into the respective leg spar and the boot size. A foot sleeve is inside of the boot for comfort. On the dorsal aspect, observe the dual strap system, which helps prevent the foot from sliding out during the procedure.
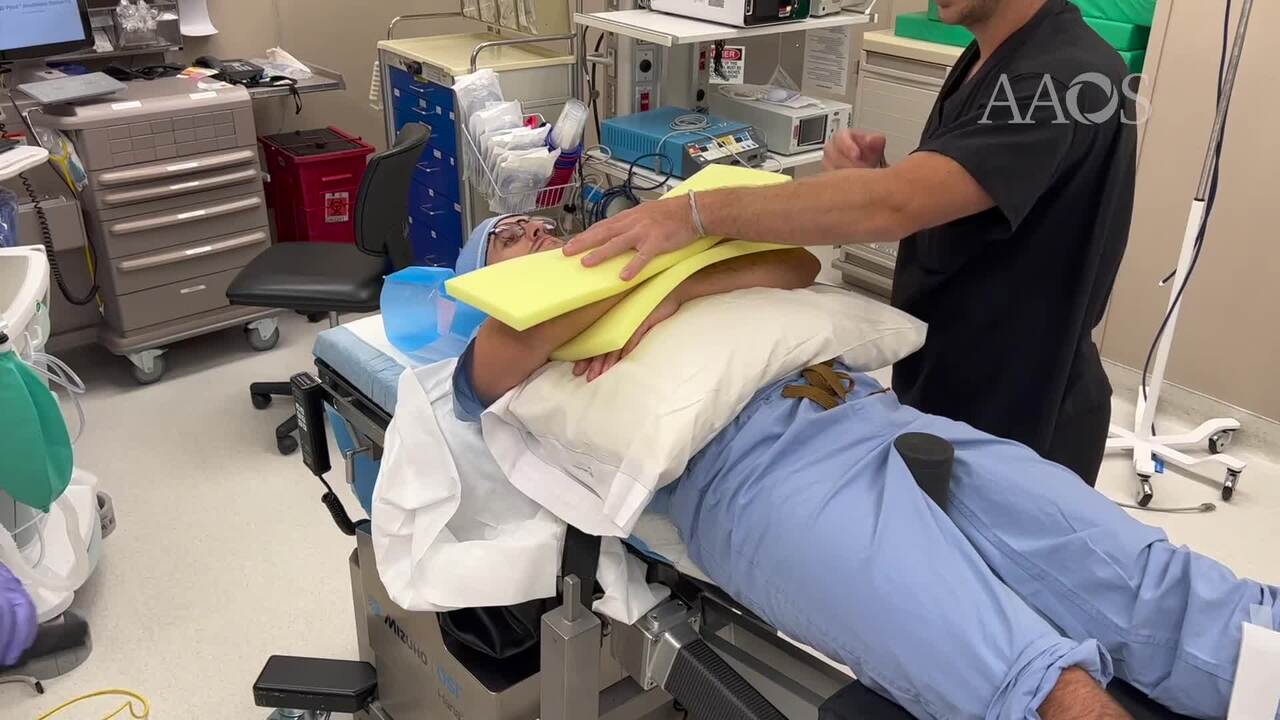
Ensure the patient's bed is parallel and as close as possible to the Hana table before transfer. To move the patient's bed next to the Hana table, extend and adduct the leg spar closest to the bed. After the patient is on the Hana table, immediately place the perineal post. Ensure the patient's perineum is right up against the post. During placement of the boots, adequately pad and cushion the patient's feet. Some surgeons prefer to place a self-adherent wrap with latex around the padding to decrease the bulkiness of the padding. The patient's heel should be placed into the boot first. Ensure the patient's heel is placed all the way into the back of the boot. An opening is present on the lateral aspect of the heel to determine if the patient's heel is all the way into the heel of the boot. After the heel is positioned, strap down both straps. Next, the safety belt is used. Ensure padding between the patient and the safety belt is adequate. The arm boards can be slid superiorly or inferiorly by adjusting the arm board adapter. After the arm board is in place, the angle and height of the arm board can be adjusted. A strap is then placed around the arm. Another method to position the arms is to perform bilateral cross-body arm positioning. The advantage of this patient position is that the arm on the surgical side will not be in the way if the surgeon needs to stand closer to the patient's axilla intraoperatively. With the patient's legs on the patient transfer board, the plantar attachment of the traction boot is placed into the respective sides of the mobile socket on the leg spar. The patient transfer board can then be removed by abducting the leg spars.
Intraoperatively, one adjustment of the leg spar is internal and external rotation of the surgical extremity. A specific use for this adjustment is during anterior hip arthroplasty. When the femoral head implant has been placed, the hip can be dislocated via internal rotation. Another adjustment with the leg spar is gross and fine traction, which is beneficial in reducing femoral fractures. For example, if the patient has a subtrochanteric fracture, traction can help pull the shortened fracture out to length for proper reduction. Lastly, the leg spar can be adjusted as a whole to abduct, adduct, flex, or extend the lower extremity. Maneuvering the leg spar as a whole is advantageous during anterior hip arthroplasty or surgical dislocations. For example, the leg spar can be externally rotated, extended, and adducted with the handle to dislocate the hip.
Other attachments specific to the Hana table for anterior hip arthroplasty include the femur lift foot pedal and the femur lift assembly. The pedal can be used to adjust the lift assembly intraoperatively. Another common setup involves unilateral skin traction on the surgical extremity with a well-leg support assembly on the nonsurgical side. For this setup, the leg spar on the nonsurgical side must be removed. The well-leg support adapter is then attached to the nonsurgical side spar mount that was used for the other leg spar in the previous setup. The articulating bracket is attached to the well-leg support adapter and fastened tightly. The well-leg support assembly is then attached to the articulating bracket. After the assembly is in the desired location, the patient's nonsurgical knee is flexed and positioned on top of the well-leg assembly. Padding is placed between the patient's knee and the well-leg assembly and securely fastened with the use of tape. Postoperatively, the jack mount assembly and patient transfer board are placed. The patient's lower extremities are detached from the leg spar. To remove the traction boot, loosen the straps, expand the boot, and pull the boot off gently. After the patient's upper and lower extremities are freed from the table and the patient bed is next to the table, the safety belt may be loosened. The perineal post is removed from the pelvic pad socket right before the patient is transferred back to the bed. Ensure the staff transferring the patient is ready before removing post.