Minimally Invasive Plate Osteosynthesis for Tibial Derotation Osteotomy
Indications for tibial derotation osteotomy in children who are ambulatory are a thigh-foot angle of more than 20° of internal rotation or more than 40° of external rotation. The only contraindication to derotation osteotomy is a known active infection at or near the site of osteotomy.
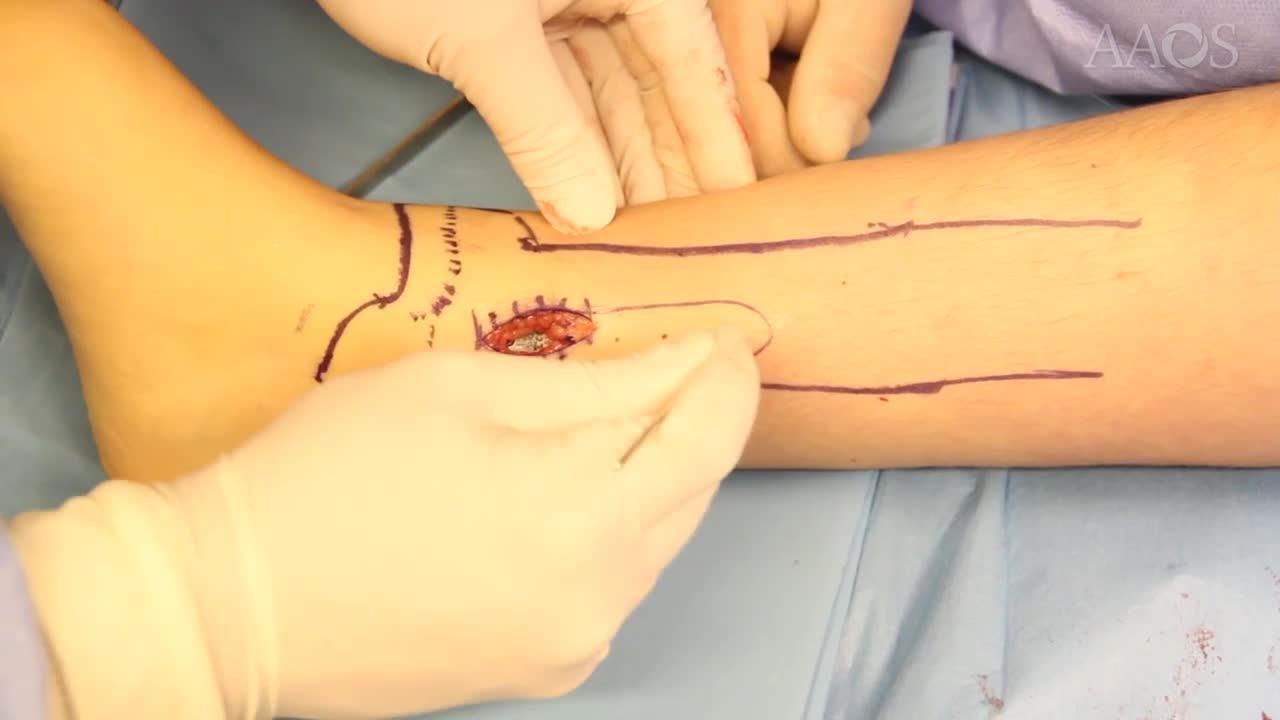
Step 1–Skin Incision: With the patient in the supine position, the distal tibial physis and the anterior and posterior margins of the bone are marked. If necessary, the physis can be marked under fluoroscopic guidance. On the medial side of the distal tibia, a longitudinal 3-cm skin incision is made, starting 1 or 2 cm proximal to the distal physis. The incision should be located at the middle of the bone. After subcutaneous dissection, the periosteum is incised longitudinally, and subperiosteal dissection is performed at the site of the metaphyseal-diaphyseal junction, which is the planned osteotomy site.
Step 2–Osteotomy: On the transverse plane, multiple drill holes are made with the use of a 2.7-mm drill and a 2.7-mm drill guide. Drill holes are made circumferentially throughout the tibial cortex on the same plane. Drill holes are later united with the use of an osteotome, and osteoclasis is completed.
Step 3–Rotational Maneuver: A 3.5- or 4.5-mm titanium locking plate is placed through the incision and advanced proximally at the submuscular level. We selected a 3.5-mm locking plate in the case shown in this video. The planned position of the plate is assessed under fluoroscopic guidance. The distal tibial fragment is rotated in the direction of desired correction. The amount of correction necessary is based on clinical examination in the operating room. The goal is neutral rotational alignment to the distal tibia.
Step 4–Fixation of Osteotomy: To secure the plate to the bone, a distal screw is applied initially. Drilling is performed with the use of a 2.7-mm sleeve. After measuring the screw size, a 4-mm cancellous screw is applied. The proximal screw holes are easily located via palpation, and their positions are marked on the skin. A thin Kirschner wire is placed through the skin and into the most proximal screw hole. The position of the wire is controlled under fluoroscopic guidance. Touching the wire, a stab incision is made just over the hole. A 2.7-mm sleeve is driven over the wire and locked on the plate. The Kirschner wire is removed. Using a 3.5-mm drill, the bone is drilled through the sleeve. After measuring the required screw length, a 3.5-mm cortical screw is applied. At this point, the position of the plate and the osteotomy site should be assessed again. Proximal cortical screws are placed in the same percutaneous fashion after the distal cancellous screws are placed through the incision.
Plaster casting and any other forms of postoperative immobilization are unnecessary. Early weight bearing and full range of motion exercises are allowed postoperatively. Preoperative and postoperative clinical examinations of the patient are shown in the video. The amount of correction is easily noticed. The video also presents the preoperative and postoperative radiographs of the patient.
We conducted a study of 16 children with cerebral palsy who underwent minimally-invasive osteosynthesis for tibial derotation osteotomy in 2013 or 2014. The mean age of the children at the time of surgery was 11.5 years. During follow-up, all patients had complete consolidation at the osteotomy site. None of the patients experienced infection or loss of fixation. One of the patients experienced mild wound detachment that was managed via local wound care and healed well.